

In part 2 of the restoration report had I taken a restoration course, I would have gone further with the front and had chosen tank valves for covering the charging connections. The restoration phase now lasted 1,5 years and I wanted to start with the actual conversion. That is why I went to Van Wel oldtimer restoration again, where I previously took the course to work on the car for three days together with Jacco.
3 day sprint: Tackle back
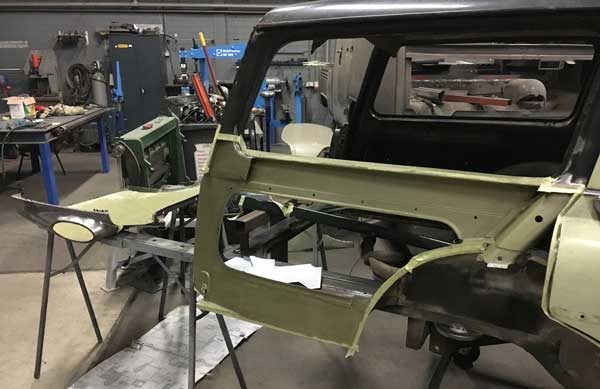
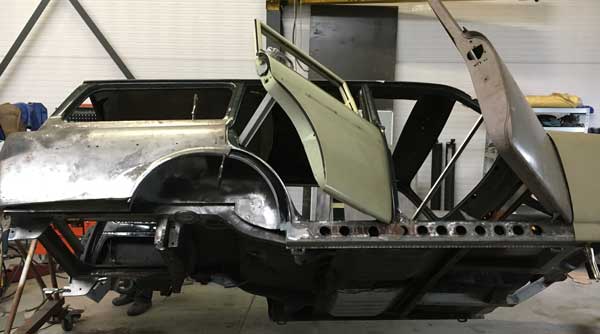
The front was now reasonably in order and especially at the rear of was still something to do.

At home I had already prepared a lot to get started with the larger and more complex things. After the last dots on the i the space behind the rear screen and the screen itself put in the epoxy.

Then put in the new inner wheel box with the spot welding tongs.
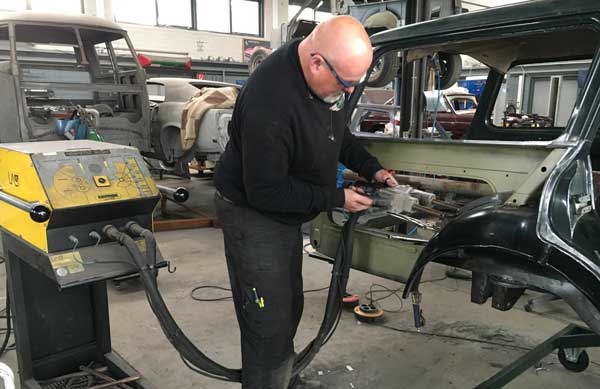
At home I don't get any farther than proplases so it is handy to be able to get started with professional tools. The rear screens are unfortunately no longer new for sale. The replacement rear screen of the donor car was hard, but two earlier repairs were just not completely tight and needed post-processing.

Before he could get on the car, the corner of the car itself also had to be renewed. For example, the bump for the center panel mounting was completely gone.
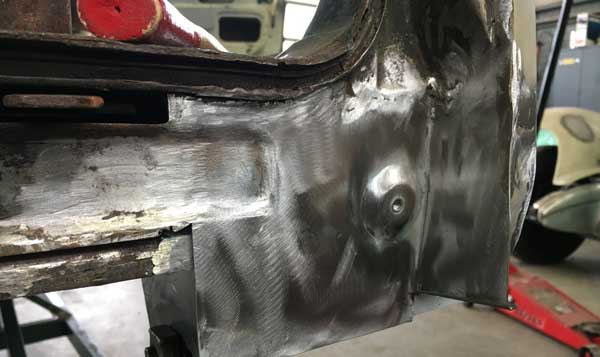
After that we could put the right rear screen on it, but first we made a stroke with the left side.
There were also old repairs hidden under a thick layer of filler.
Installing charging connection behind original fuel cap
First we made a start with the charging connection behind the original fuel cap. Hereby I made the original fuel cap on the plastic cover of the charging connection. I want to be able to mount the socket from the back so that you don't see any screws and that it can come to lie nicely flat.

So we prepared a mounting ring and then removed it from the car on a small edge after the old filler neck mounting.

The next step was to make a spacer that ensures that the original fuel cap fits exactly in terms of height. Beautiful piece of art from Jacco.

After it was attached, it looks like an original fuel cap from the outside ...

... but it is a type of 2 charging connection for the so-called slow charging, at home or at a normal charging point.

However, the rest of the left back also needed some work. This sprint of 3 days together with a professional was good. That is why I have subsequently placed the car at Peter Overmars of OSO Restauratie.
The home stretch
Large parts of the car were hard and tidy again. The last few things often weigh the heaviest. If you come across these types of holes and previous repairs, you think 'it was actually a scraper for parts'.

At a certain point, however, you come to the point that so many parts have already been addressed that perseverance is the only option. In terms of repair sheet metal it is sometimes a bit of a search. It is for sale in all kinds of qualities. Often the price is proportionate with the fit. I prefer to use original Volvo sheet metal and if possible old stock, 'new old stock'.
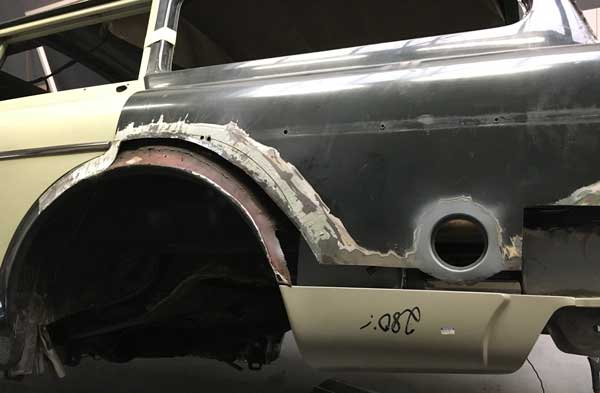
Originally there is a seam between the rear screen and the front part of the wheel rim. The reproduction sheet metal that is currently available includes, even from Volvo, only the bend and lower conversion. Fortunately for this I also found an original edge that makes it easier to repair this seam.

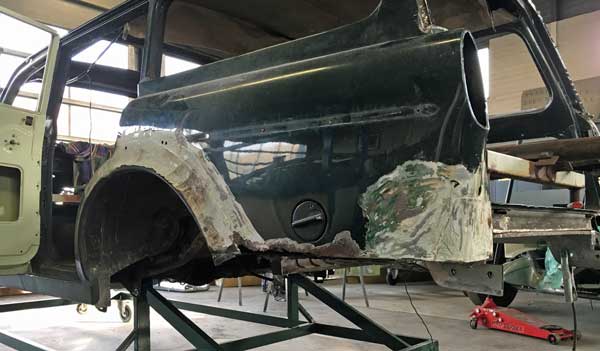
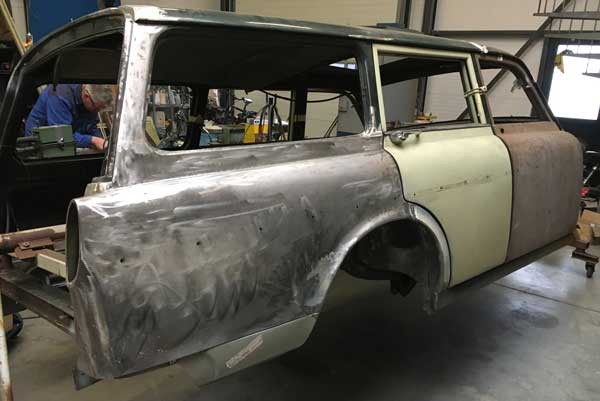
After also placing the shell behind the rear wheel and the new outer sill, the right side is starting to become quite a bit. Although a lot has been welded to this car in the end, there is no longer any overlapping sheet metal, the shapes and seams are as original as possible and the base becomes rust-free. Even better was an un-welded and unrestrained car, but that is almost impossible to find.
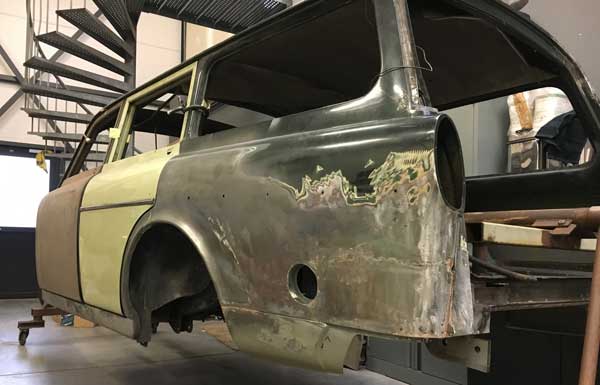
The left side was unfortunately not much better and the repairs to the outer wheel box and inner wheel box by previous owners were not to my liking.
So both the inner box and the outer box were removed and new parts inserted.

The rear screen itself was repairable and thanks to Peter the new pieces are very tightly inserted. The original seam under the rear lights has been restored.
Finally, the lower window edge has been replaced, rear seat belt attachment points have been inserted and I have done various repairs to the bottom and many other smaller items. As a final job with Peter, I made the CHAdeMO fast-charge connection in the right front screen.
CHAdeMO fast charging connection
Earlier I had taken a tank valve from a Saab and from a Volkwagen Golf on the demolition. I have chosen to place the rectangular wave from under the decorative strip in the right front screen. To do this, I also removed the corresponding part from the car on the demolition.

I then determined the location on the front screen, taking into account the placement of the emblem and the decorative frame.

Peter has blasted the car part from the Gulf and since it turned out that it was not hard to repair where necessary. We then inserted that piece into the front screen.

Just like at the rear, a spacer is also needed to ensure that the charging connection reaches the correct height.
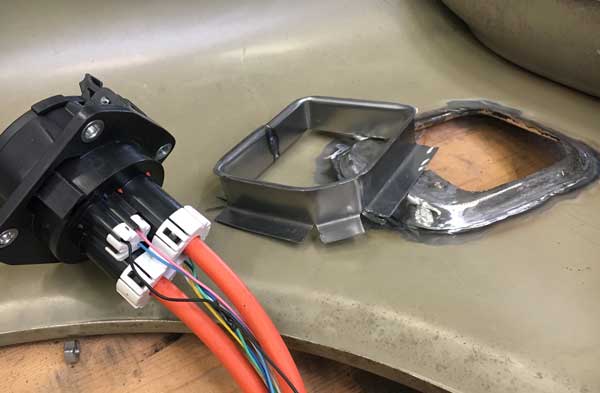
The fast charge connection really fits the mm behind the Golf tank valve. There is exactly enough room to operate the release and to open the plastic cover of the charging connection completely. I do make a support on the A-screen because pressing the fast-charging plug in it can take a lot of power.

Body restoration ready
With that, mid-January 2017, the restoration of the body is finished and I will take it home again.

There is still a number of dots on the i that have to, but I do that in the work during the conversion to electrical. About two years after the start of the project, that phase will actually begin.

The next episode (tag # old volvo-electric) is about the benefit of the conversion to electrical project starting with a restoration phase of almost two years. Missed the previous one? Check the reports here on AMK from restoration part 1, Or part 2, my plan for one electric Volvo Amazon combi or the initial conversion steps. Would you like to preview or view more details? The project can be found at www.oudevolvo.nl/ev-combi
You can also purchase a car for that money and work. Don't be for electric. Think that the work does not outweigh the environmental savings unless it lasts 100 for years.
Yes, everyone is their thing and hobby of course. Of course, for the money and effort I could have bought a ready-made used electric car. However, it's all about the challenge. Moreover, I still drive in a modern look.
We now drive approximately 25.000 km per year in a Volvo 940 and that drives 1 on 7 and 8 on LPG. That therefore leads to 5715 kg of CO2 emissions per year.
We will soon be driving that distance electrically and charging with our own solar panels. Then the CO2 emission for the same distance is 315 kg per year. The fact that it is not completely “zero emission” is due to the production and recycling of solar panels that I include in the equation.
The CO2 emission reduction is therefore 5400 kg CO2.
According to a FFE study, the production of a battery causes 106 kg per kWh. I have 44 kWh so the production of the battery caused 4664 kg CO2. The other components can be more or less offset against similar components in a car with an internal combustion engine. In addition, I use used batteries so some of those production emissions are already recouped.
I have therefore recouped the initial extra CO2 emission in 1 year (or 25.000 km).
inspection for Belgium more info?
Unfortunately I don't know all the ins and outs of the situation in Belgium. I do know that it is more difficult than in the Netherlands, but not impossible.
See also this article on De Tijd: “Electric classic car on the rise"
Basically, if a car is allowed in EFTA (European Free Trade Association), then Belgium should allow the car. As an oldtimer will not work if I read the messages and rules about this because the car must then be completely original.
By registering a car (first) and having it approved for electric in another EU country and then importing it (again), it should work. First customized homologation and then registration. See also the Written question and answer to the Chamber in 2010.