


The stickers that are often used are the stickers with foil on top for applying and rubbing on the sticker. That foil layer also keeps the lettering or emblems in place. Just think about the hassle it used to be to make a text with separate 'pick-up' letters. We remember an emphatic 'Turbo' designation where the letters were not lined up and where the spaces between the letters were also quite loosely done. But that was before. Nowadays there are perfect sticker sheets for almost all classic cars and motorcycles. Keep in mind that in the eyes of purists, pasted striping is like cursing in church. Fortunately, there are still specialists who can pull rushes out of hand. With a sable hair brush, of course.
But paste could just be the option
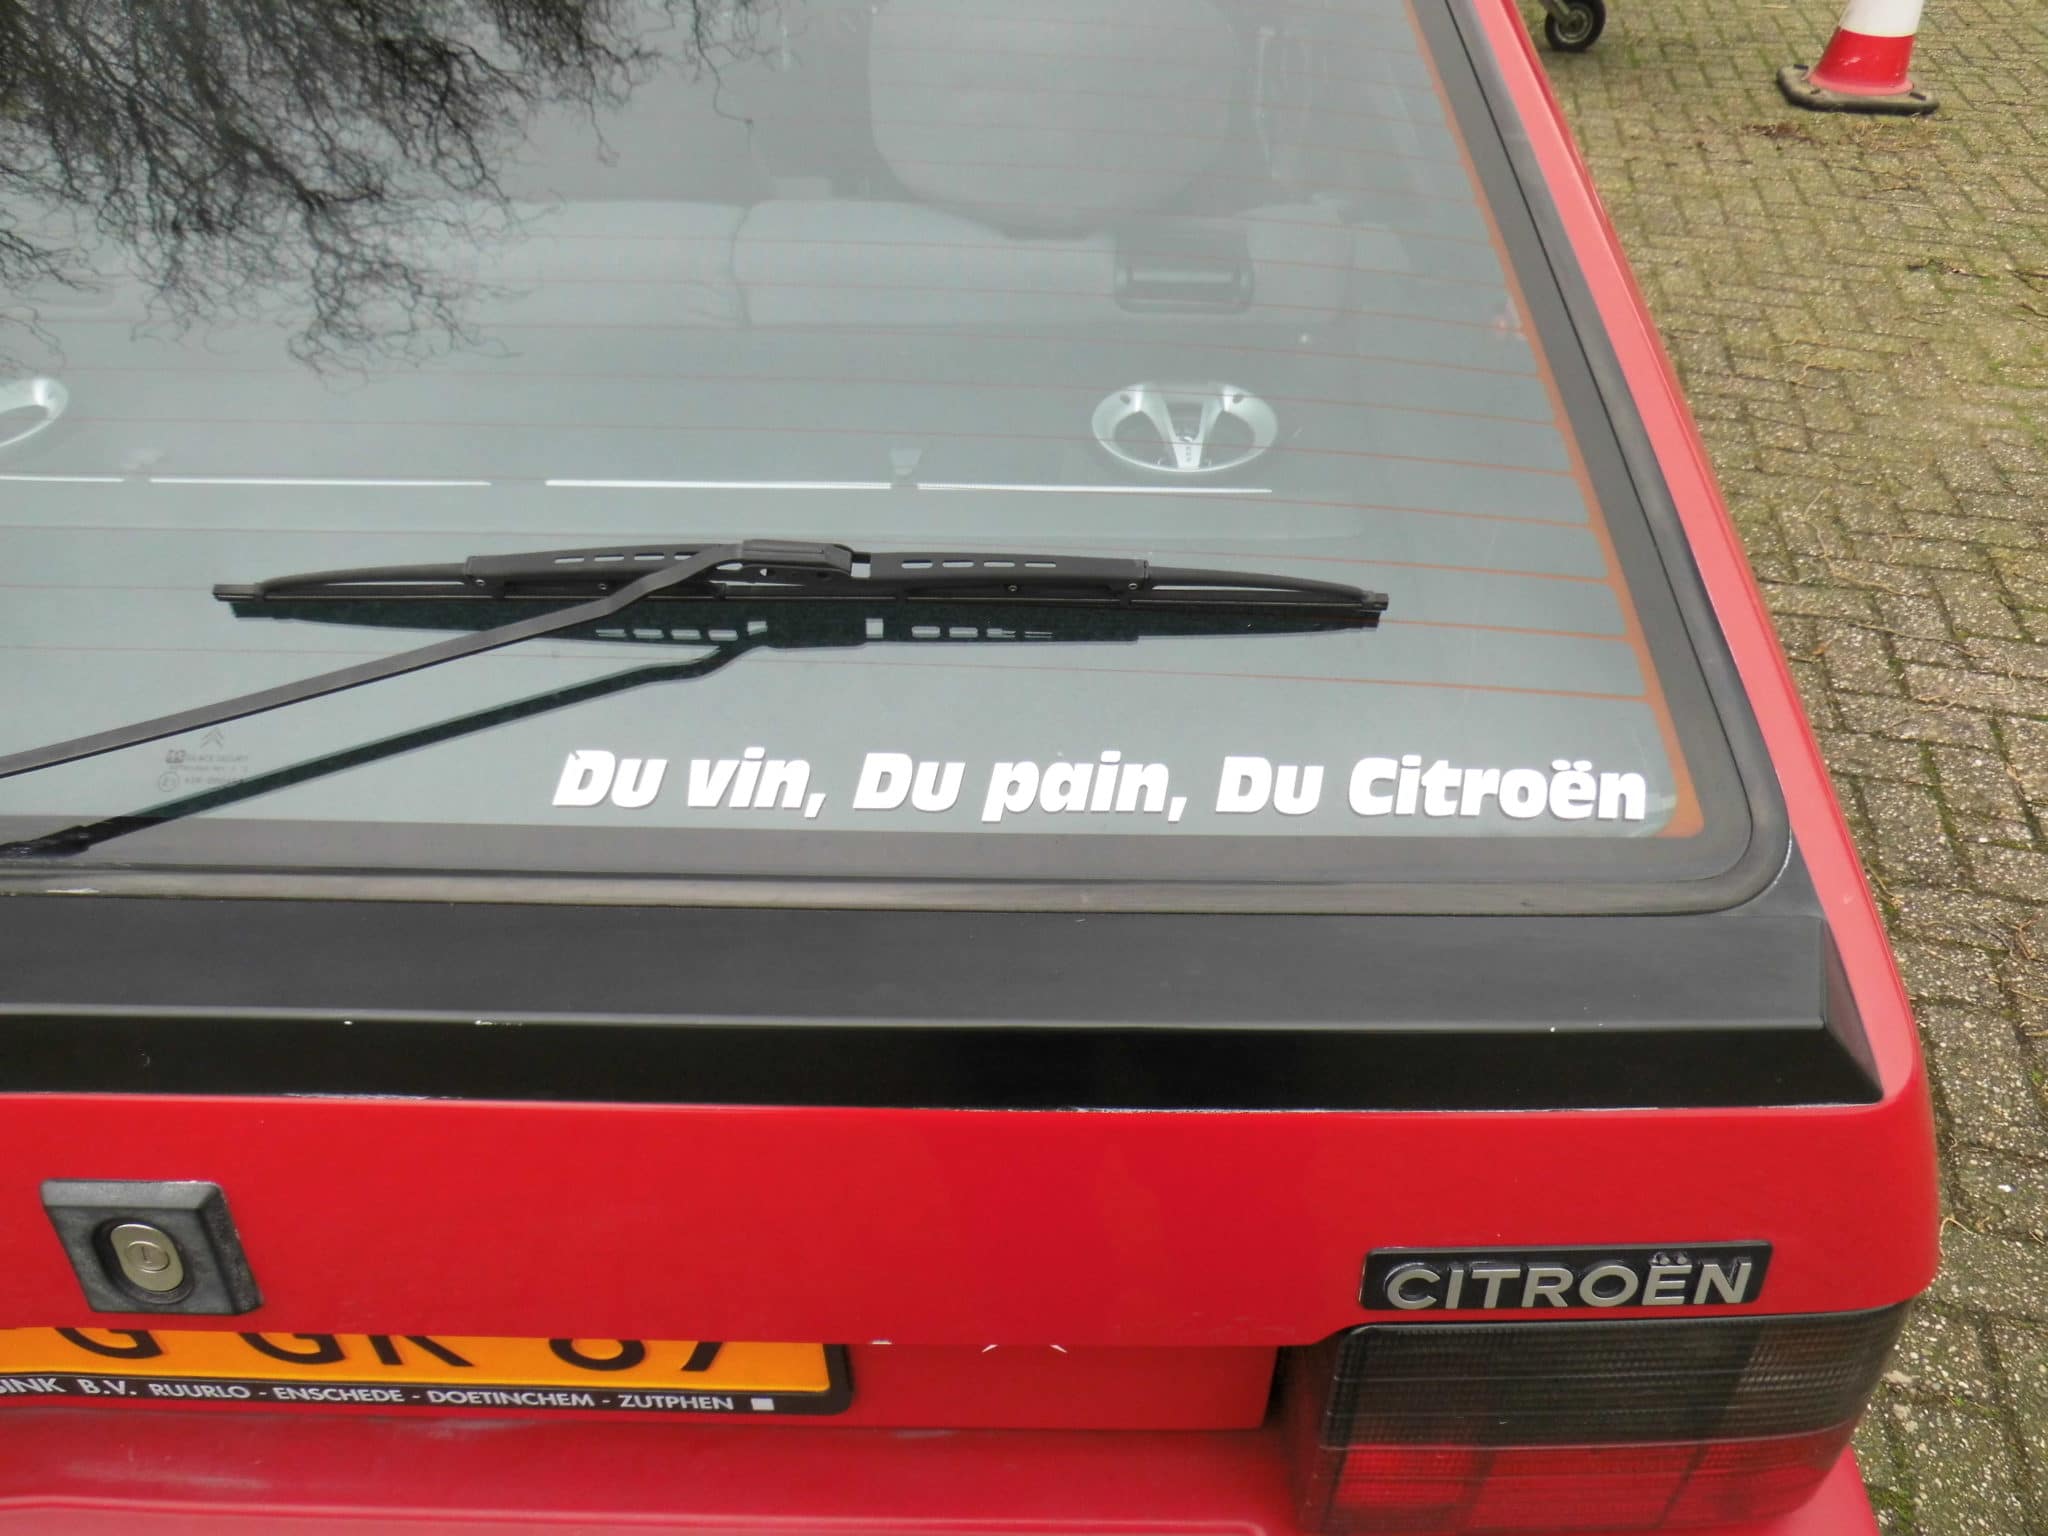
There is an incredible selection of ready-to-use stickers. But if you cannot find what you are looking for, you can always consult a professional lettering specialist. With its cutter and software, it can usually make stickers that cannot be distinguished from real (composite).
How do we proceed? First of all, it is of course important that you know exactly where the striping or sticker should be placed. This is very important, especially if you work with more stickers. That is a matter of measuring and making sure that the stickers are in the same places on the left and right. Mark the location with loosely taped painter's tape. Put reference lines on the tape and sticker sheet. The place where the sticker (s) will be placed must be cleaned properly, dust and grease with, for example, benzene, Dasty or Glassex. It is useful to apply water with a few drops of detergent per liter to the surface with a plant sprayer. A few drops. Not anymore.
Positioning is important
The reason for this is that the sticker is still easy to remove and in any case can be moved gently back and forth. If you are satisfied with the position of the sticker or striping, the water under the sticker can be gently rubbed away. Do this gently with stroking movements, taking care not to trap air bubbles. So always work towards the sides of the stickers. Because there is certainly a chance that the sticker will tear or wrinkle. A rubber squeegee or, for example, a bank card with a piece of textile around it can be used for rubbing on, so that the air is properly driven out from under the sticker.
When you are of the opinion that the sticker is properly attached, the foil can be removed. Do this with care, so that you are sure that the sticker adheres well to the surface. So waiting an hour won't hurt. Allow everything to dry thoroughly after applying the sticker or striping.
Remove stickers applied to the car - striping
Even after years of use, the removal of applied stickers or striping is possible in various ways. For example, you can try this by heating the sticker with a hair dryer. Do not use a paint remover. It removes more than the sticker. Injecting with WD40 is a secret tip.
But whatever you do, patience is key. You can remove the glue residues with white spirit. Before you start removing the sticker or striping, it is wise to wash your car first so that you do not cause scratches by the dirt on the car or engine when removing the adhesive residue.
Also read:
- Lettered classics: difficult trade


Thanks to Norbert Jansens, Mufcat, Laag Soeren
In 1985 I bought a gray Citroën Ami 8 sedan from 1971.
Was a really fixer-upper. My father liked it as a second car next to his 99 Saab 1970.
The car was worn out. The previous owner had also stickered it with an eagle all over the hood and block striping on the side. For a car with a displacement of 602cc and 32hp, it didn't get any faster.
The said car is still in my possession, but without stickers.
If necessary, you can make an original sticker. also simple at home. My Leaf 40 KW in the light green color wears a yellow reflective Scotch tape on the right rear under the factory logo “Zero emission” - with the handwritten ambiguous text “green drives better”.
Unfortunately I could not copy a picture of it in this block.
The Scotch tape was bought in a hardware store; I cut a piece of about 10 cm for it.
Smart!
When these stickers were fashionable, most cars had cheerful bright colors.
A sticker on an ugly dark modern groggy will also have little or no effect.
Maybe a lot of stickers will help
Just put Goldwing cases on the GL1100. Had aftermarket suitcases. However, the color of the cases is a different red from the GL1100. If I now start painting / spraying (I don't know what to do yet) the stripes will have to be done again.
I have never done spraying and things like that. Idea for an article ??? Could use some hints and tips 🤢 A few years ago I had two vans mixed at Crop in Rotjeknor. Wash a special color to mix. But with the battery cover as an example, that worked out perfectly. One mate has done that behind the mudguard. But I think aerosol sprays for two cases and two lids will fall a bit short. Can I buy a spray gun or something like that?
There is a car shop around here, in Eerbeek, where they make colored aerosols. And the stripes are the easiest to paste. If you have an example. That example can even be a photo. I have seen beautiful things at Mufcat in LLaag Soeren. But of course there are more sticker makers. We will take a look at that article. We are lucky that we have excellent contact with Theo Terwel, a man with twinkling eyes for whom perfection is only the beginning.
When a neighbor drew a bright red Abarth line on his already somewhat decomposed white Fiat 850, my father dryly asked how much faster that thing would get.
But sticking a nice piping all around, that could do a good job of renovating a car. If you did not do it correctly, it would remain deep in the brushes of the car wash, but otherwise it could remain in place for years.
In the early 70s, 'eyes' on the boot lids of VW beetles were very fashionable. We had a second-hand Taunus (white with red vinyl roof), and after some insistence, my father was allowed to buy a sticker sheet with the biggest eyes they had at the nearby gas station. It was probably the only Taunus so decorated in a reasonable area.
Ah! the famous 'Moon Eyes'! Top!