


There are apparently fortunately again people, often younger, lovers of classic motorcycles, who have not only found their childhood dream, but who are also taking the first steps on the shaky path of self-tinkering.
You do not need intensive care room to operate
But it is wise to start work in a clean, well-lit environment. Chaos never bears witness to craftsmanship. At most of genius. With some tools, peace of mind, good sense and the Internet you can go a long way. There are a lot of videos on YouTube about doing specific actions / repairs on countless types of engines. Even if it is just the starting procedure of an Indian Sport Scout from 1941. Under `how to repair honda motorcycle 'is also everything that Soïchiro Honda itself never dared to dream about. It's just a know.
But some basic knowledge remains useful
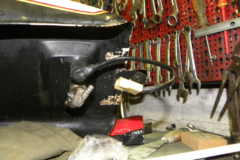
When tinkering, for example, always first disconnect the battery cable, but to be sure, first remove the ignition key from the lock. First disconnect the negative (-) pole and make sure that it can no longer make contact with the battery. BUT WATCH OUT! On older British motorcycles, the battery connection can be the other way around! But if we keep it to 'the norm': if you start with the plus and your tools come into contact with the rest of the motorcycle (read: mass) you make a short circuit with all possible consequences.
Then loosen the plus (+) pole
Then there can be no sparking misunderstandings while tinkering. And that tinkering starts with the battle cry “Left is Loose”. Turning screw connections counterclockwise loosens nuts and bolts. But then there are details: if the threaded connection points away from you - think of the nuts on the inside of a mudguard - then you have to think 'mirrored'. Because 'left' is in fact 'right around'
And so there was someone who could not even release a crankshaft nut after putting a one-meter pipe on his socket wrench as an extension ... Oops ... Right-hand thread. Look at it that way: a crankshaft turns in a certain direction. With normal left thread, the thread on the crankshaft would actually turn 'out of the nut' because of its intrinsic direction of rotation. When using right-hand thread, the crankshaft, in theory, tightens the nut or at least keeps it in place. Consider the bolts on the bottom bracket of a bicycle. One goes left to release. The other ... Loosing nuts? Those are things you don't want.
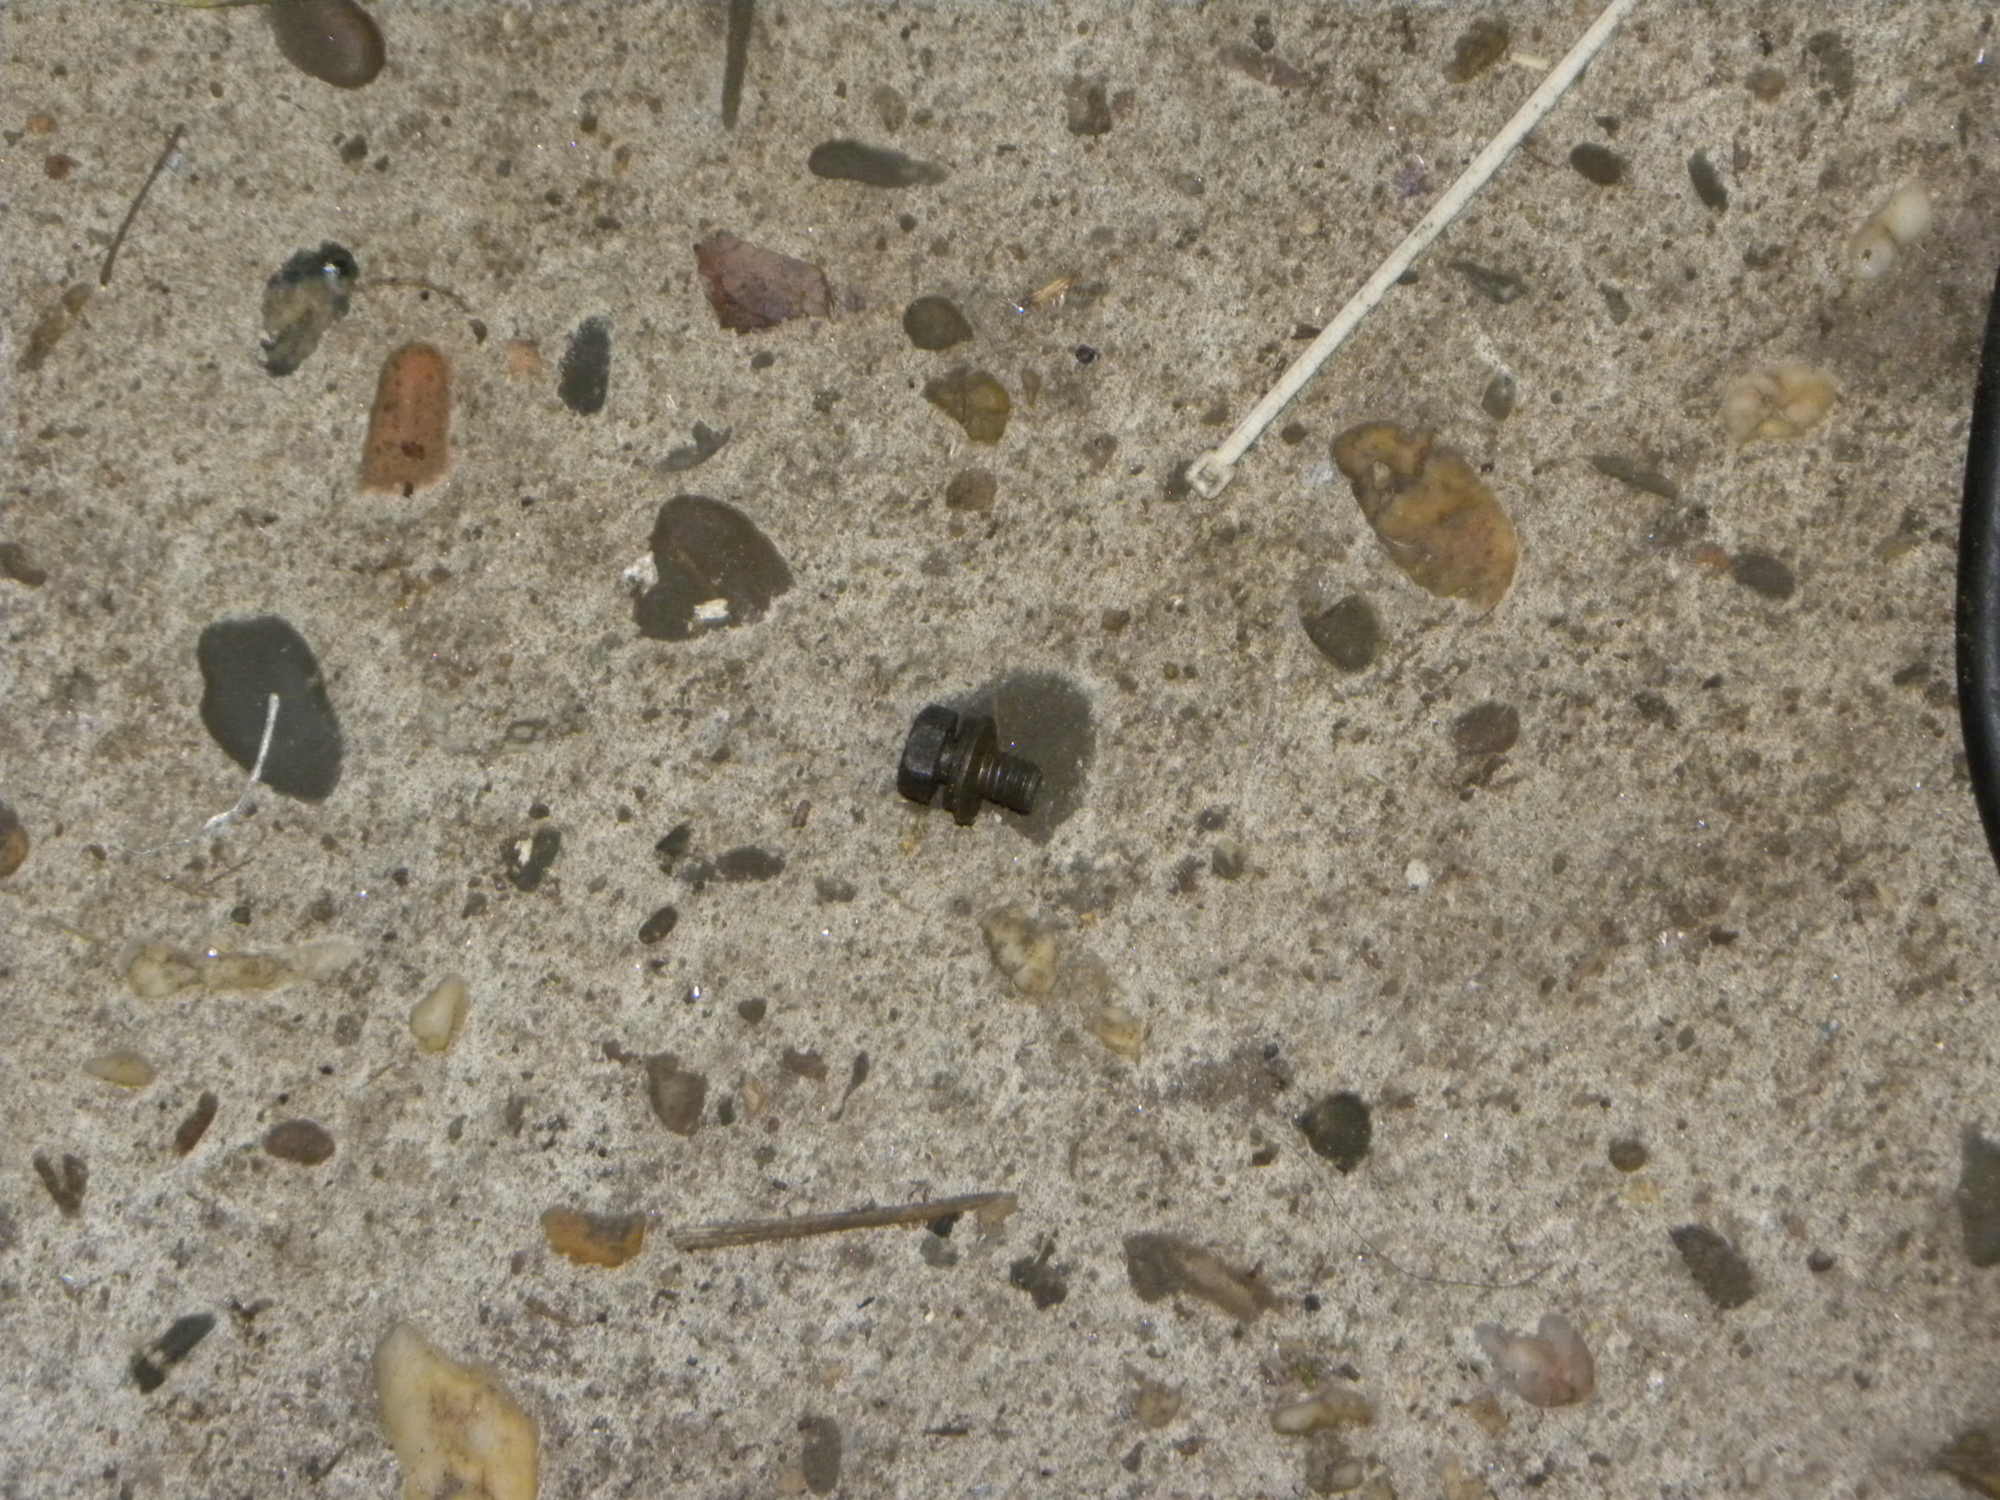
Falling bolts and nuts are not
They tend to be annoyingly stuck somewhere, hide themselves or otherwise cause nuisance. If they disappear in the gaps between the frame and possibly the bodywork, a treasure hunt with bright light and shaking of the engine will help. And such a small magnet on an extendable stick. When shaking, such a bolt or nut or washer falls with a bit of luck with a dry tap on the ground. Where it usually remains untraceable. But that may also be due to our example.
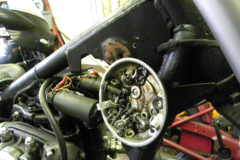
As a beginner, it is also nice to know that things can only be removed when all connections between them are loose. It is highly frustrating that the smooth lifting of the gas tank from the frame is suddenly stopped because the cable of the gas meter is still stuck.
Surprising by the way how much damage such a tank can do if it is pulled out of your hands by such a sneaky cord. A connecting hose between the tank walls can have the same surprising result.
Other detainees
Side covers and other hassle sometimes also get stuck on an unexpected extra point. Therefore, always remain calm and do not force anything. Because a broken mounting support on a side cover can be more than a nuisance. And don't think that plastic parts are easy to find second-hand and cheap. After all, there is the law that the same parts are always broken or missing for a certain type of engine. This has always been the case. Just ask the family how difficult it was to find left side covers for Honda's famous CB 1974 OHC engines that were used after 750. Those spare parts were known as 'those from the roadside'. In the meantime, they can again be supplied as 'after-sales'. Scarcity always inspires people. At least: if there is a revenue model in it.
Magnetic trays
When tinkering, we get stuck at some point with loose parts and mounting materials. In this respect, this century has brought us the Holy Grail: Magnetic trays.
Magnetic trays keep all things together and they also attach themselves to metal. They are about the only cheap things that come from China and function properly. Even more profit for (starting) keyers is the fact that every mobile phone is nowadays a fully-fledged photo device and because those smartphones are still attached to our bodies. Use that thing. But photos under work. No selfies, the social media will come again later.
The assembly procedure
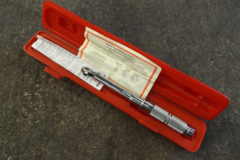
And if the things then have to be mounted again, there is a choice of happiness, feeling or security. The most legendary way to tighten screw connections is: "Turn until it breaks and then back a quarter turn". It is certain that people with key experience are reasonably good at tightening nuts and bolts 'tight enough'. Jérémie Lapurée from the Joe Bar Team is someone who is not that far yet. But since price breakers such as the Aldi offer cheap torque wrenches, the correct tightening of bolts and nuts is no problem. Check out the tables that are all over the Internet.
And learn the instructions for this handy tool. Be amazed at the endless digital discussions about the use of copper grease for mounting screwed connections. First, let's say that this cute product is best suited for steel to steel mounting. If aluminum or stainless steel is involved, it is much better to use ceramic paste. By applying grease to the screw thread, you reduce the coefficient of friction. When the clamping force and flank diameter remain the same and the friction coefficient decreases, the tightening torque must be lower.
A wrong moment
The torque wrench 'feels' less resistance, as it were, so that the torque only reaches the set torque value with a greater number of turns of the nut. You don't want that, because the number of turns determines the tension in the bolt. So you can indeed use grease on the screw thread to protect it against rust and other things, but then you do have to set your torque wrench to a lower torque. If you do not do this, you will increase the tension on the bolt, which can lead to deformation. In fact, it has the same effect as over-tightening the nut. Be careful with engines that do not appear to have been worked on for the first time. Use only properly fitting tools. For Japanese Phillips bolts, the use of an impact screwdriver WITH THE RIGHT BIT is more than recommended. The screw thread in the light metal may already have had a hard time. And putting Helicoils is just a step further. Just like what to do if a bolt or thread breaks off.


Ff nagging, right-hand thread is the norm, left is different for engines.
Unless there is a chance of running loose….
Just the other way around as in the text.
Take that from this lady with key experience