

The defrosting of windows is fine with warm water. Hot water defrosts even faster. But your window can break through. So what?
In the meantime, there are a lot of classics that have been fitted with a glued windscreen. And actually replacing a windshield with a glued windshield is simpler than replacing a windshield with a rubber-mounted windshield.
Many windows have been glued
The broken window is usually still completely in its groove. But before the work starts, the moldings must be removed. Do that carefully. Wear gloves and goggles during this chore. It may be that the clips and clamps used are no longer available. Usually decorative strips can be removed by gently tilting them upwards from the bottom, applying some pressure to get them out of their 'click groove'. Carefully set aside the fragile molding, remove the clips and store them.
Now we can work from the inside of the car. Stick through the sealant layer with a preferably curved awl in a pleasantly accessible place. Glass splinters can also jump away. Take the cutting wire and feed it through the hole in the kit. Secure the thread to the loose handle. Provide a wire length that allows quiet, long strokes.
Easy to saw
Start cutting the window with two men. Make sure that the saw wire does not make sharp kinks and does not cause damage to the paint and the dashboard. Make long, quiet strokes and keep the saw wire tight. A kink results in breakage. If the window rubber starts to smoke, something may be sawn slightly quieter. That is better for the saw wire.
When the window is finished, it appears that he usually still has some adhesion. Have the second man sit in the car and let him squeeze the window evenly with his feet. Make sure the bonnet is covered.
A contraceptive
The following promotion is optional but makes sense from experience. Stick a strip of cheap plastic film on the outside of the window. That means the actual removal of the window and heaps of splinters away from the interior and the paint.
Lift the window with two people and place it at the local glass container.
Now the rebate must be carefully made free - or almost free - from old kit debris. There is no objection if a thin, flat kit film remains in the rebate if it has good adhesion to the substrate everywhere. Otherwise, continue until the steel rebate is clean.
Clean? Very clean!
Clean the rebate with an - industrial - degreaser. In the absence of this, thinner or brake cleaner are reasonable alternatives. Watch out for skin contact with these highly degreasing substances.
Also degrease the sticky side of the window. Open the kit cartridge and be careful not to come into contact with the kit. The stuff is very difficult to remove.
Then lay the kit tightly in a preferably continuous movement. The spout of the kit cartridge is shaped in such a way that the kit strand comes to lie in the correct thickness and at some distance from the glass edge. The kitten of the rebate naturally also goes. But you can walk around the window.
Now the window must go to its rebate.
This requires two people and a set of open front door windows. Bring the window as close as possible to the frame. Tilt the window of the car and let it rest on the forearms. Put the free hand through the open side door window. Now take the window 'between the palms' and position it. Press it evenly into the rebate.
Make sure that it is supported by the often present protrusions that protrude from the body at the lower window level and are screwed to it. To ensure positioning, it makes sense to 'hang' the window on the roof with a few strips of tape. Press the window again and see if the kit string is present and enclosed everywhere.
In this phase decorative moldings can be mounted when (many) clamp clips are missing. The decorative trims are then mounted with a few dots diamond kit. Keep in mind that this means the end of the strips once again.
Consult our advertisers 🙂
Tools? You can never have enough of that. The stuff that until a few years ago could only be bought for a lot of money are now simply affordable. That has given our hobby a valuable addition: collecting tools. This makes you increasingly independent and your social life is greatly improved. But never forget who you borrowed what!


I miss checking the rebate for rust and priming here. In my view there are things that you better leave to the professional.
Well, just give me a layered window in a rubber, a little bit of tire grease and a sailing cord than he will be in it rather than a sticky one.
I totally agree :-) But that sticking has something. Certainly if you know afterwards that you can really use windscreen kit as super glue!
A car window is not part of the glass container.
This must be kept in a separate bin at the local waste collection.
Furthermore, an educational article.
Totally agree Mr. Schep!
Correct. Thanks
replacing a glued window takes considerably more time and is considerably more expensive ...
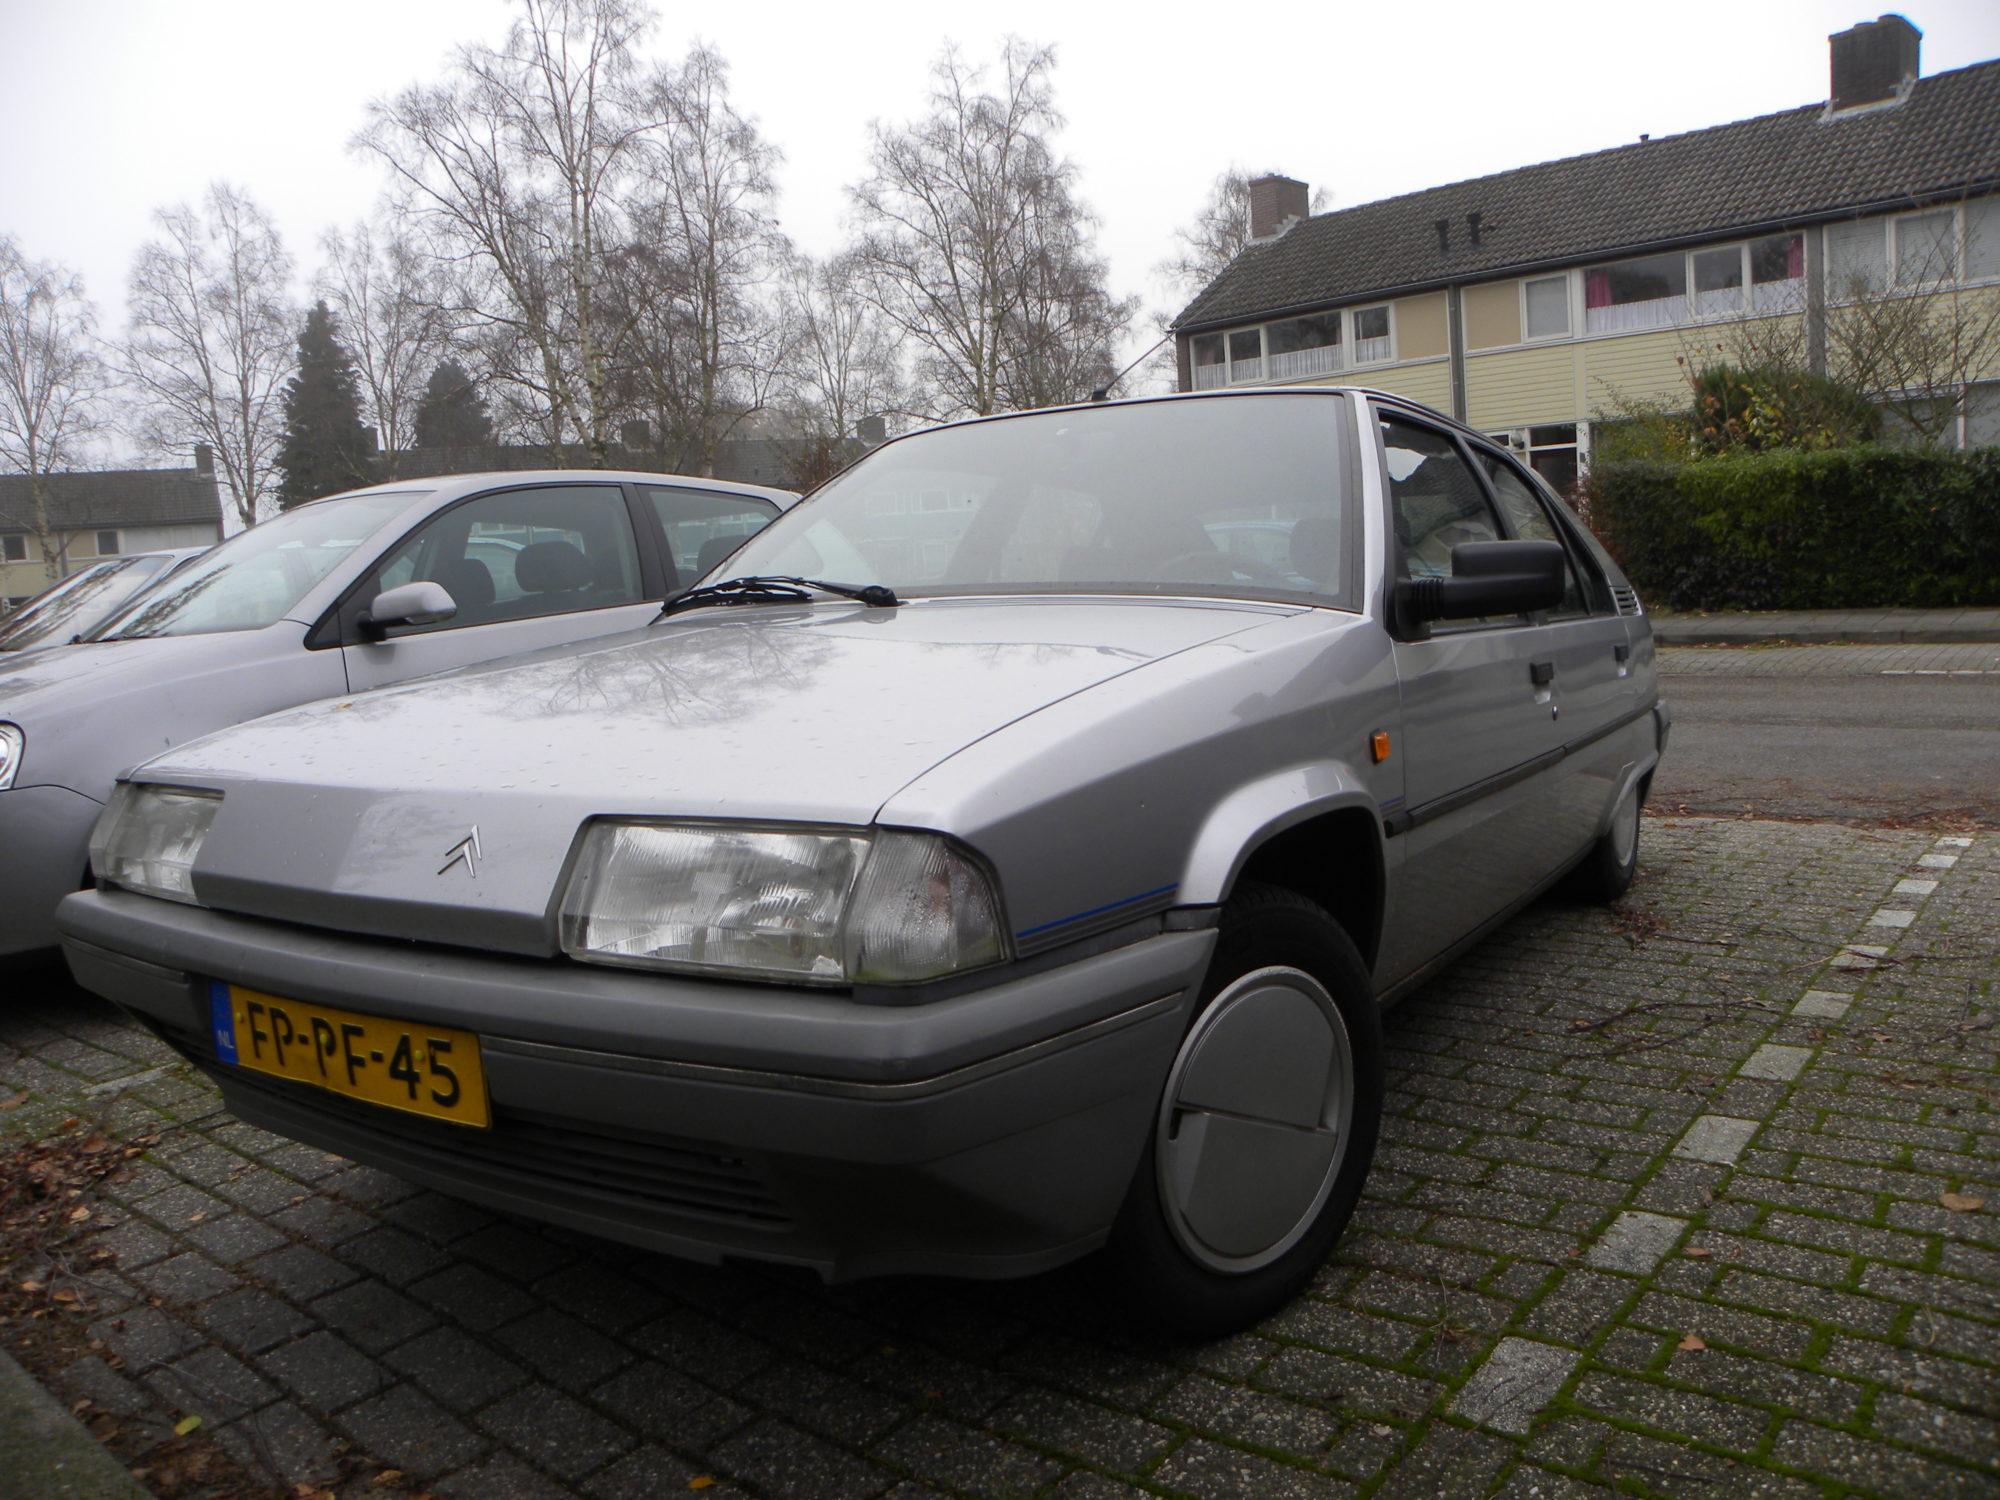
The last Bixen (》 1990) were worse than older types.
Keep an eye on the chassis beams and trunk in terms of rust.
Engines (benz / diesel) are practically indestructible ..
On s'appelle “character” ...
Hi Pascal. That's right. My Lief's 88 is significantly better than her 91 was. And an acquaintance had a diesel break with 650 D km on it. MOT tomorrow. Curious